

CREATE YOUR COWBELL ELECTRO AT HOME MADE
- Jun 19, 2024
- 5 min read
Hello hitters, hope you are well. Today, I'm offering you a tutorial, for a home made that's very easy to make and...at a lower cost. I will show you in a few quick steps and photos how I made my electronic cowbell from an acoustic cowbell. This type of DIY trigger is extremely simple to implement and does not require a particular level of DIY. This is a very basic 1 zone trigger, if you know how to make a hole then it is within your reach. To make this home made, you will obviously need a bell, regardless of the size, finish or brand, so treat yourself aesthetically speaking, because the size or quality of this cowbell will have no impact on the result of the sound produced from your module.
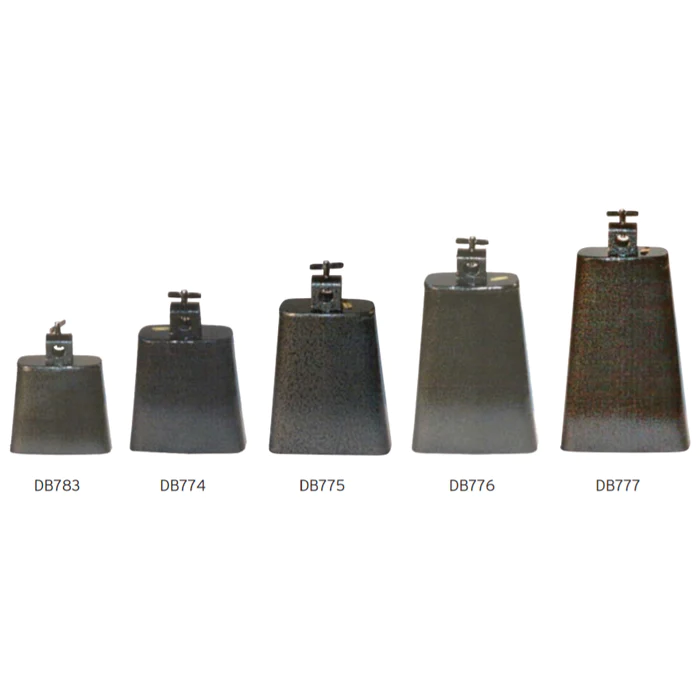


As for my own project, I went with a pretty Meinl 4.5" bell whose finish I love. The fact that it is not painted will also prevent me from having chips in the long term. painting This bell cost me 38 euros, but you will find first prices at 10 euros and even 5 euros if you order on Chinese sites.


You will also need a piezo sensor and if you want to avoid soldering, without it costing you 15 euros on Amazon, you will find piezos wired and supplied with a 6.35 mm jack connector assembled, for less than 2 euros each on aliexpress.


You will have understood by doing your calculations, while reading my explanations, you can make this home made for less than 10 euros. Just like you can improve the quality of the bell a little, to have something prettier, more solid, more durable. GO...! The first step consists of making a hole, with a diameter corresponding to the thread of the jack connector. Regardless of the right or left location, you can even make this hole from the back, if the clip leaves you a little room, or from below if your bell is high enough for you to insert the jack all the way to plug in. In my case, my bell is not very thick, since it is a small format (4.5"). Knowing that my jack would come up against the opposite wall, before being pushed all the way in, I so had to make the hole on one side.

To make this hole, you will obviously need a drill and a steel drill bit. For my part, for my various tinkering with steel and in order to be able to do what I want in all circumstances, I was equipped with Spiral Grooved Stepped drills. This type of drill bit allows you to drill to any size you want and up to large diameters and also without the need to change the bit during DIY, which is very practical.


Once this hole is made, you simply slide the jack connector from the inside and fix it from the outside, with the small nut supplied with the piezo + jack connector.

The hardest part is done, all you have to do is stick the piezo inside the bell, using a piece of double-sided tape. Some are very thin, others armored, others lined with foam... As long as it sticks, it doesn't matter what you use, even if personally, I preferred to use a double-sided foam, to avoid too much high sensitivity of capture when typing. On thin steel, capture is very easy, unlike wood or thick plastic. Here you see my bell turned upside down (for the purposes of the photo), the piezo is obviously to be stuck on the side which will be struck by the sticks, therefore at the top and not at the bottom, otherwise the capture will be significantly less good. Place your +/- piezo in the center of the bell.

That's it, your bell is trigged and ready to be played, but there is still an important step, since you play on electronics, in 95% of cases, to avoid making too much noise to the neighborhood, or even to towards other members of your family who share your roof. We are therefore going to soundproof this bell. To do this, nothing could be simpler, you stuff it as much as possible with rags, cotton, foam, glass wool, rock wool... any recycled materials that allow you to neutralize the sound will do the case. You will make sure to leave a space behind the opening, allowing you to make a very clean finish afterwards and also not to take off your piezo during filling since the glue of your tape has not yet had time to set properly. fix on the metal. Do not hesitate to push your insulating material all the way to the bottom and pack it down well.

Now let's move on to the finishing touches. You will need to cut neatly from a piece of foam, using a cutter and the shape of the opening of your bell. In my case I had a piece of unused sound foam on hand, which will therefore be recycled for a good cause. You can imagine anything for this part of the finish, even a piece of polystyrene painted black afterwards..., or other ideas improvised with what you have at hand.

When you cut with a cutter, place the opening of your bell on the support to be cut and if it is a soft material, cut a little wider than the shape of this opening, so that this finishing piece remains securely locked in the bell when you place it. You can also attach this piece, with double-sided tape, or even neoprene glue on the contour to reinforce the hold in the cowbell. Then all that remains is to place a small piece of rubber on the striking edge, in order to optimize the silencing of this bell. (this will also save your chopsticks). A scrap of rim noise eliminator or even a piece of inner tube will do the trick. On Amazon, you will also find door protection, we find black, transparent, blue, red and silver... and often supplied with an integrated adhesive, for less than 10 euros per 5 meters.


Initially, I did this with a scrap of rim noise eliminator from the barrel, which exploded from rim shots and which I kept when I changed it.


Then finally, I realized that the excessive thickness was annoying for the game, between the edge and the flat of the bell, (since both are playable) and that it was preferable to replace this finish, with some something finer. Furthermore, reducing this thickness allows for even better capture of edge strikes. Not to mention the "botoxed duck face" aspect which I didn't like at all.
Here is the final result obtained:

I hope this little tutorial will be useful to you, do not hesitate to ask a question in the comments if necessary, I will answer you with great pleasure. Remember to leave your little like on this post if it was useful to you or if you think it is interesting. Happy crafting, hitters. See you soon. Ciao


Comments